welcome to
The tomkat studio blog
Search
XOXO Chocolate Cupcakes :: 14 Days of Sweet Valentine Ideas
Share To:
Valentine’s Day is quickly approaching, and I think we can all agree… chocolate reigns supreme when it comes to Valentine’s sweets. Hi, it’s Carrie Sellman from Half Baked, excited to be here for the 14 Days of Sweet Valentine’s Ideas! And since it’s Monday, I have a chocolatey cupcake created just for you. In a few easy steps, your cupcakes will be all dressed up and ready for Cupid’s holiday. What better way to give hugs and kisses than these XOXO Chocolate Cupcakes!
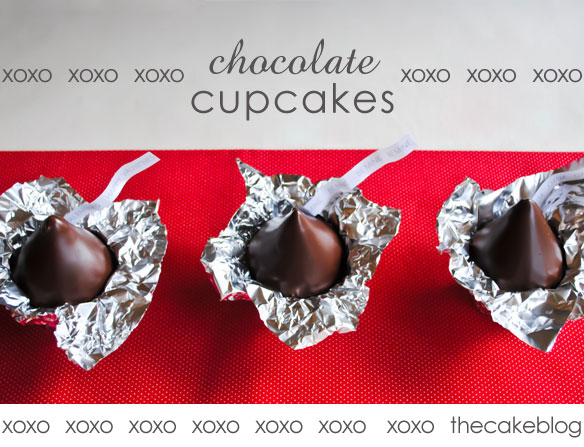
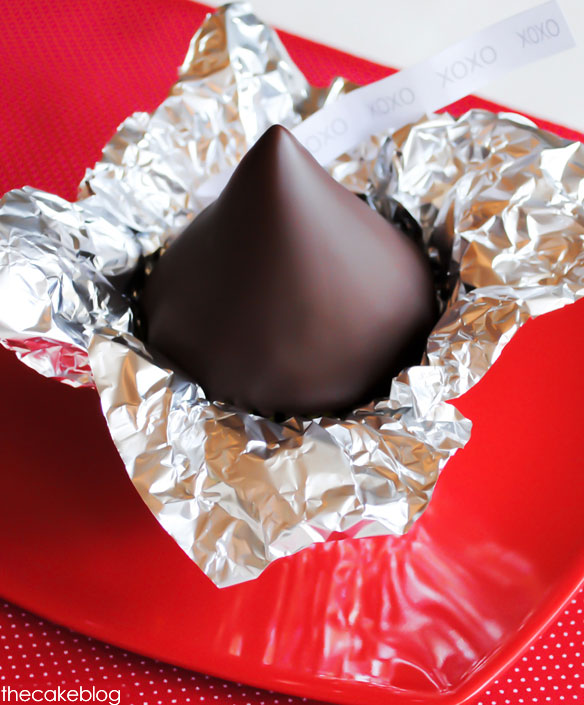
Inspired by those bite-sized candies we all know and love…. little drops of milk chocolate, twirled up in a tiny foil wrapper. Only these cupcakes aren’t so tiny. These cuties are actually full-sized cupcakes, in disguise!
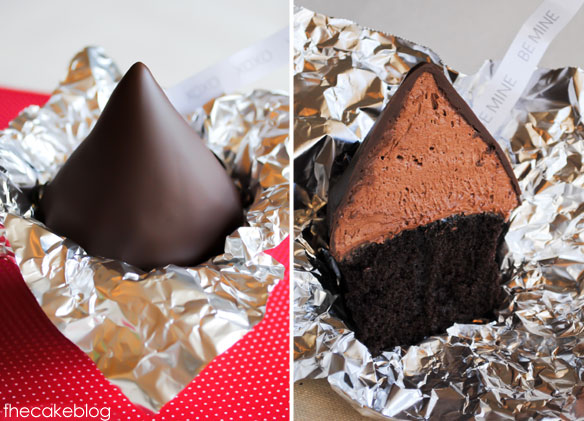
I’ve been wanting to experiment with Martha’s High-Hat Cupcake Recipe for a while now and thought this was the perfect opportunity. I followed the same basic concept. Swirl the icing up high and then dip it into a chocolate coating. Only, I went for a smooth dollop of icing, similar in shape to the chocolate candy. An inside shot might make this more clear…
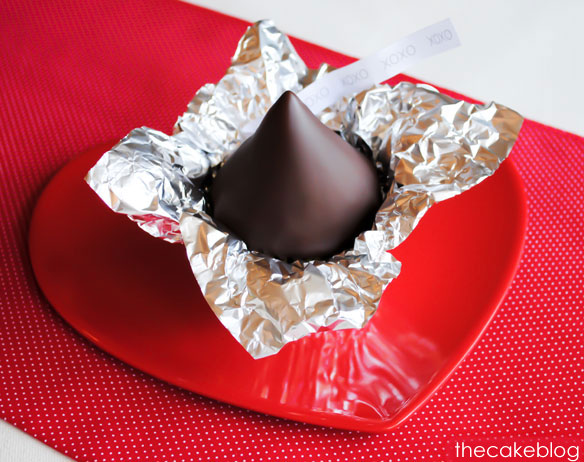
Fun right? Wrapped in a square of tin foil and finished with a paper flag, these chocolate cupcakes would perfect for a Valentine’s Party or a chocolate dessert table.

Or make a batch for your family and share some chocolatey cupcake-love for Valentine’s dessert.
XOXO Chocolate Cupcakes
Supplies:
- Chocolate Cupcakes (store bought, made from a mix, or baked from scratch)
- Chocolate Buttercream (medium to thick consistency, like this recipe)
- Chocolate Coating (recipe below)
- Tin Foil, cut into 8 x 8 inch squares
- Paper Flags (free printable here)
For the Chocolate Coating:
Melt 24 oz of chocolate chips with 6 tablespoons of vegetable oil, in microwave for 30 seconds. Stir. Microwave for another 30 seconds. Repeat until completely melted and smooth. Pour into a deep bowl or cup. Cool slightly before dipping cupcakes.
To Assemble:
- Using a pastry bag fitted with a large round tip, pipe chocolate buttercream into a swirly mound on cupcake. Think of a soft-serve ice cream cone as your swirling upward.
- Using an offset spatula or knife, gently smooth out the ridges in your swirled icing. Pull spatula from bottom to top to keep the nice dollop shape.
- Repeat steps 1 & 2 for all of your cupcakes. Put cupcakes into freezer for 15 minutes while preparing chocolate coating.
- Hold cupcake upside down by its bottom and dip into chocolate coating, until all of the icing is covered. Hold upside down to allow excess chocolate to drip off. Turn upright and allow to chocolate to set. {approx 15 mins)
- Wrap bottom half of cupcake in tin foil square. Crinkle and smush tin foil to make it look like an unfolded wrapper.
- Refrigerate cupcakes until ready to eat.
- Add paper flags when ready to serve. Slightly fold paper flag back and forth to give it a rippled shape. Tuck into back side of foil wrapper, so that it stands upright behind cupcake.
TIPS: These would be adorable as mini cupcakes as well! And slightly easier to make… just pipe on one large dollop of buttercream using a large round tip. This eliminates the need for Step #2.
Sending you chocolatey love and sweet thoughts this Valentine’s Days! Enjoy! XOXO ~ Carrie
February 6, 2012
Post Date:
Leave a Reply
SUBSCRIBE
Don't miss a thing! Subscribe to our email list to keep up with our latest projects, listings, blog posts and giveaways!


These are soooo cool. I must make these for our Valentine party at school. Thanks so much for sharing this.
What a Cute Cute Idea I must try and make these for my Co-Workers.. Thank you for Sharing
so cute!
One of the most genius ideas ever!! Never would have guessed it was a cupcakes!!
Incredibly cute!! Such a fun idea!!
I LOVE this idea and might try it, but in a mini-cupcake version!
In LOVE with this idea!! Thanks for sharing 🙂
this is a very cute idea. i think i will try this using the mini size cupcakes
thank you for sharing
ADORABLE! Just love them. Thanks for taking time to do the tutorial and for sharing!
These are so fun! It’s hard to believe that they’re full sized cupcakes.
Thank you for such a great idea/tutorial!!! I was looking for something “different” other than the traditional hearts for my kids school treats!- this is such a great idea! Really appreciate your creativity and of course sharing it!
Wow, these are so fun and creative and look SO delicious!! Awesome job Carrie!
that is awesome!
I absolutely LOVE this idea! Thanks for sharing! :0)
Yummmm!!~
So cute and yummy! I am doing a 6 week cupcakes n’ milk after school class at the school I work at I might have to add these to the list.
I am super excited to try this. Thanks for the tutorial!
Those are so cute and perfect! I would never try to make them because mine certainly would not look like that!!
Duh-ROOOOOOOOOOOOOL.
Sorry, didn’t mean to shout.
(whispering) ….Drooooooooooooooooooooooooooooooooool.
These are SO SUPER cute Carrie! I can not get over the cuteness so I had to share them on my blog: http://puertabella.blogspot.com/2012/02/kiss-cupcakes.html
Love everything you do and this is no exception. So adorable and yummy looking! The fact that you so generously share the how-to is just the icing on the cake. 😉
Love this idea!!!! So cute and doesn’t look like it would take long to do! Thanks Carrie for sharing!
Wow these are awesome! What a great idea! I’m pinning and also posting on my FB page to share with my readers
https://www.facebook.com/MyOwnRoad
Looks Great. Thanks for this idea!
Thank you for all of the kind comments! Happy Heart Day!!
Those could be dangerous!
Love the idea made a batch tonight they turned out cute have to work a bit on the shape but still cute and they are loved…
Chocolate kiss looking cupcakes…..do you think it would work with another type of icing? Like a meringue…Swiss or Italian or maybe just whipped ganache? Not crazy about conf sugar buttercream in our house.
These are so cute! I think the mini cupcakes would be a perfect treat for the kids. 🙂 I was wondering, would there be any reason that I shouldn’t pour the chocolate over the top instead of dipping? I don’t work much with chocolate, so sorry if that’s a silly question!
if you pour the chocolate over the top it will not smooth out if you dip the cupcake you can leave it upside down for a min allowing the excess chocolate to run off creating the smooth finish
Love it !!! These are the cutest cupcakes ever !!! I need to make a practice run making these cupcakes. Thanks for sharing 🙂
These are some of the coolest cupcakes I’ve ever seen!
I would be happy to receive such sweet present for Valentine’s Day or whenever.
Will my husband remember? Maybe, but not necesarry about me:)))))
Hi, I just want to tell you that I made the cupcakes for my Purim Basket. My friends and family loved the idea!!!! Thank you so much for your steps and pictures to go along with it. I would post pics of it but Im not sure how to….
Carrie,
These are awesome! Do you know approximately how many cupcakes you can dip with the amount of your chocolate coating recipe??
Thanks!
I am in charge of the dessert for a dinner this week and this idea is perfect! Thank you for such an original twist on an old favorite!
Omg so adorable ! I would do anything for these delicacies ! nom nom nom.. 😀
Awesome idea, thank you for sharing
THESE are adorable Carrie! I LOVE them!! How did I miss them?