


October 13, 2016
HOW TO MAKE A SPOOKY HALLOWEEN PILLOW…
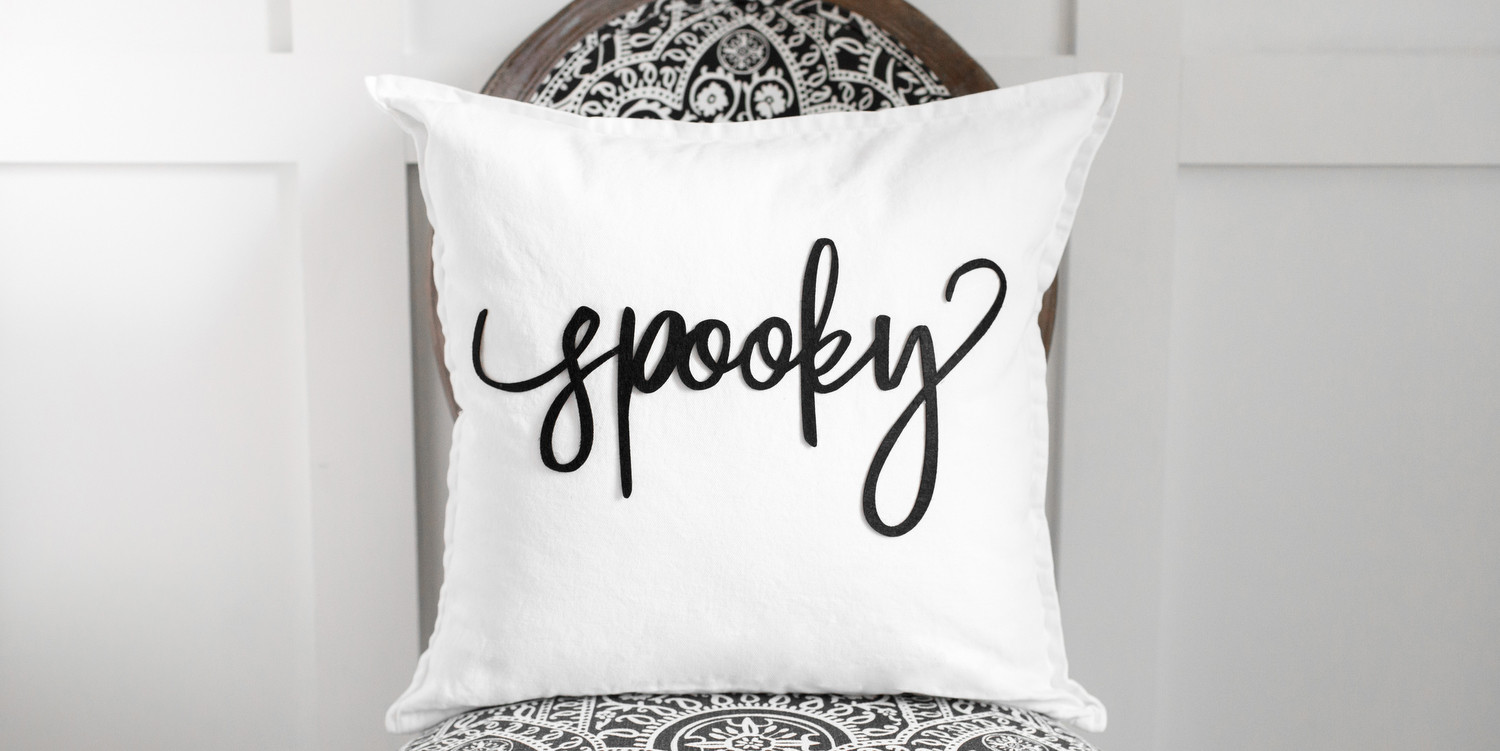
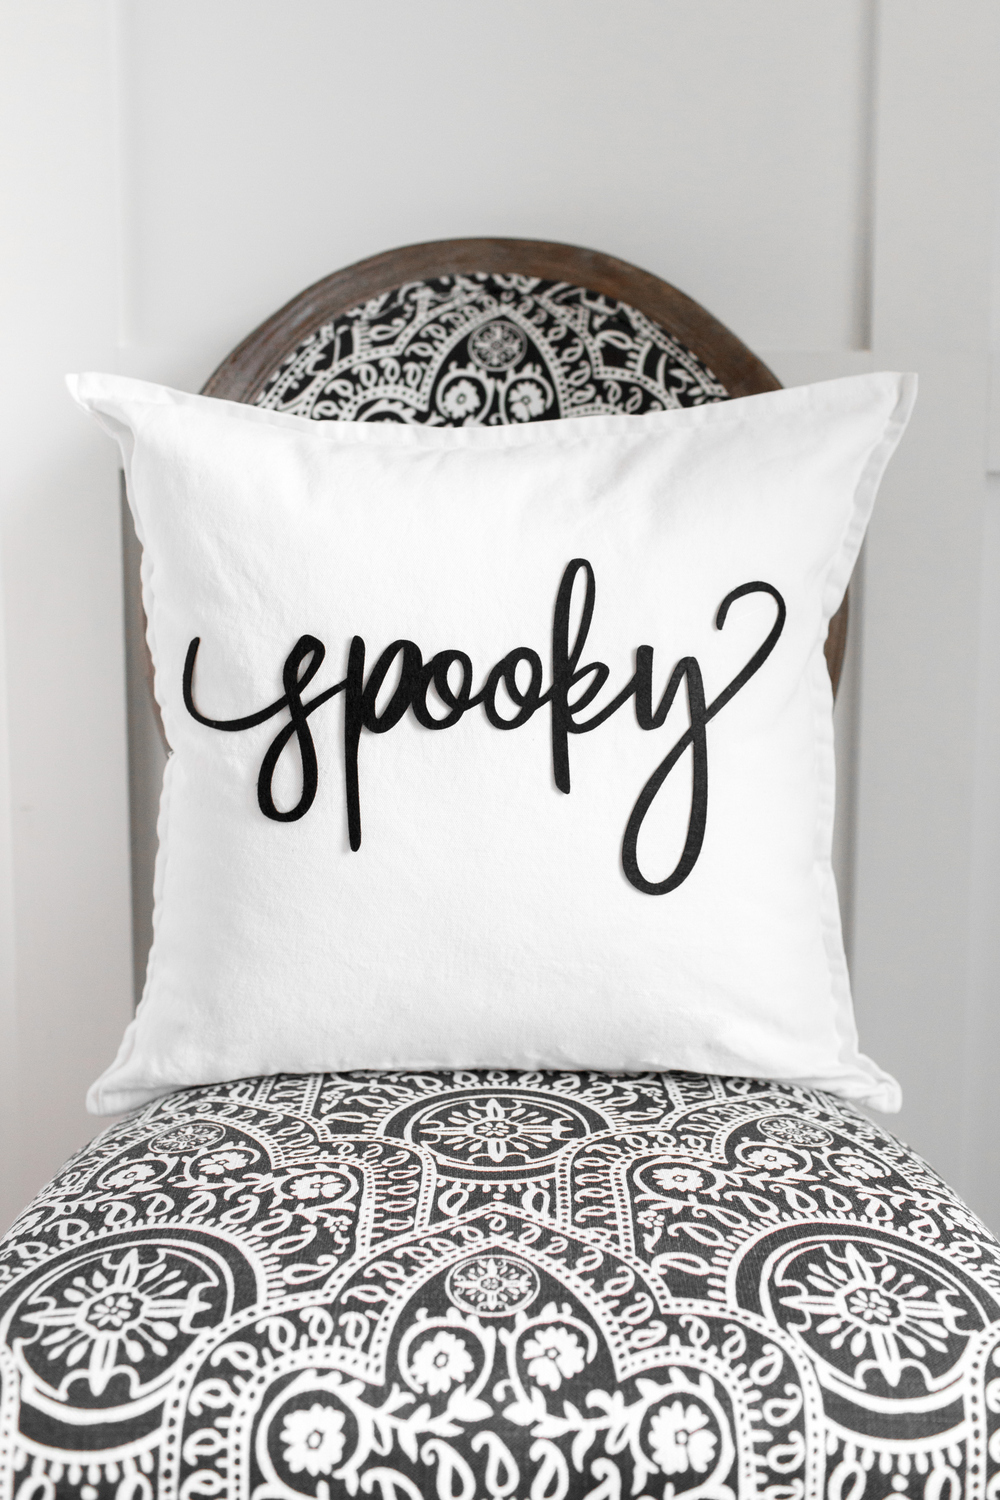
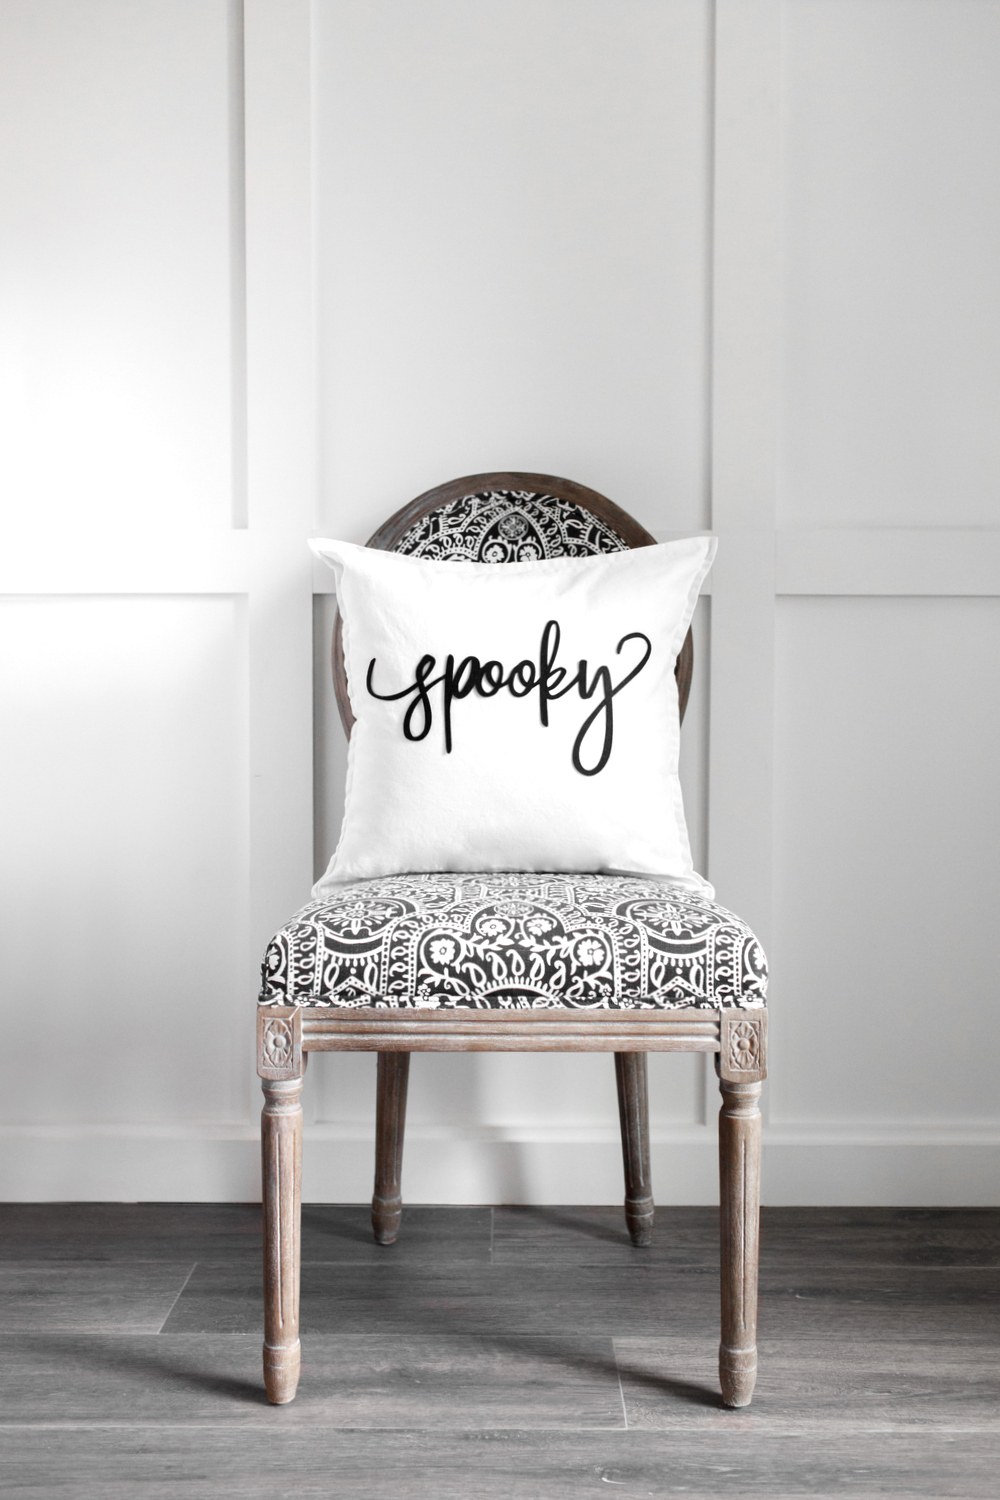 Let’s be honest, you can never have too many cute throw pillows! And we think Halloween is the perfect reason for you to make a cute new one (or three) to a touch of stylish Halloween decor to your home! With the Cricut Explore, you can make this darling “spooky” pillow project in minutes! It’s so easy and fun to make, your neighbors will be asking you to make them one, too!
 Materials
Cricut Explore Machine™
Cricut Design Space Software™
12″ x 24″ Standard Grip Cricut® Mat
12” x 18” Black Felt Sheet
Cricut® Heat and Bond Sheet
20” x 20” White Pillow
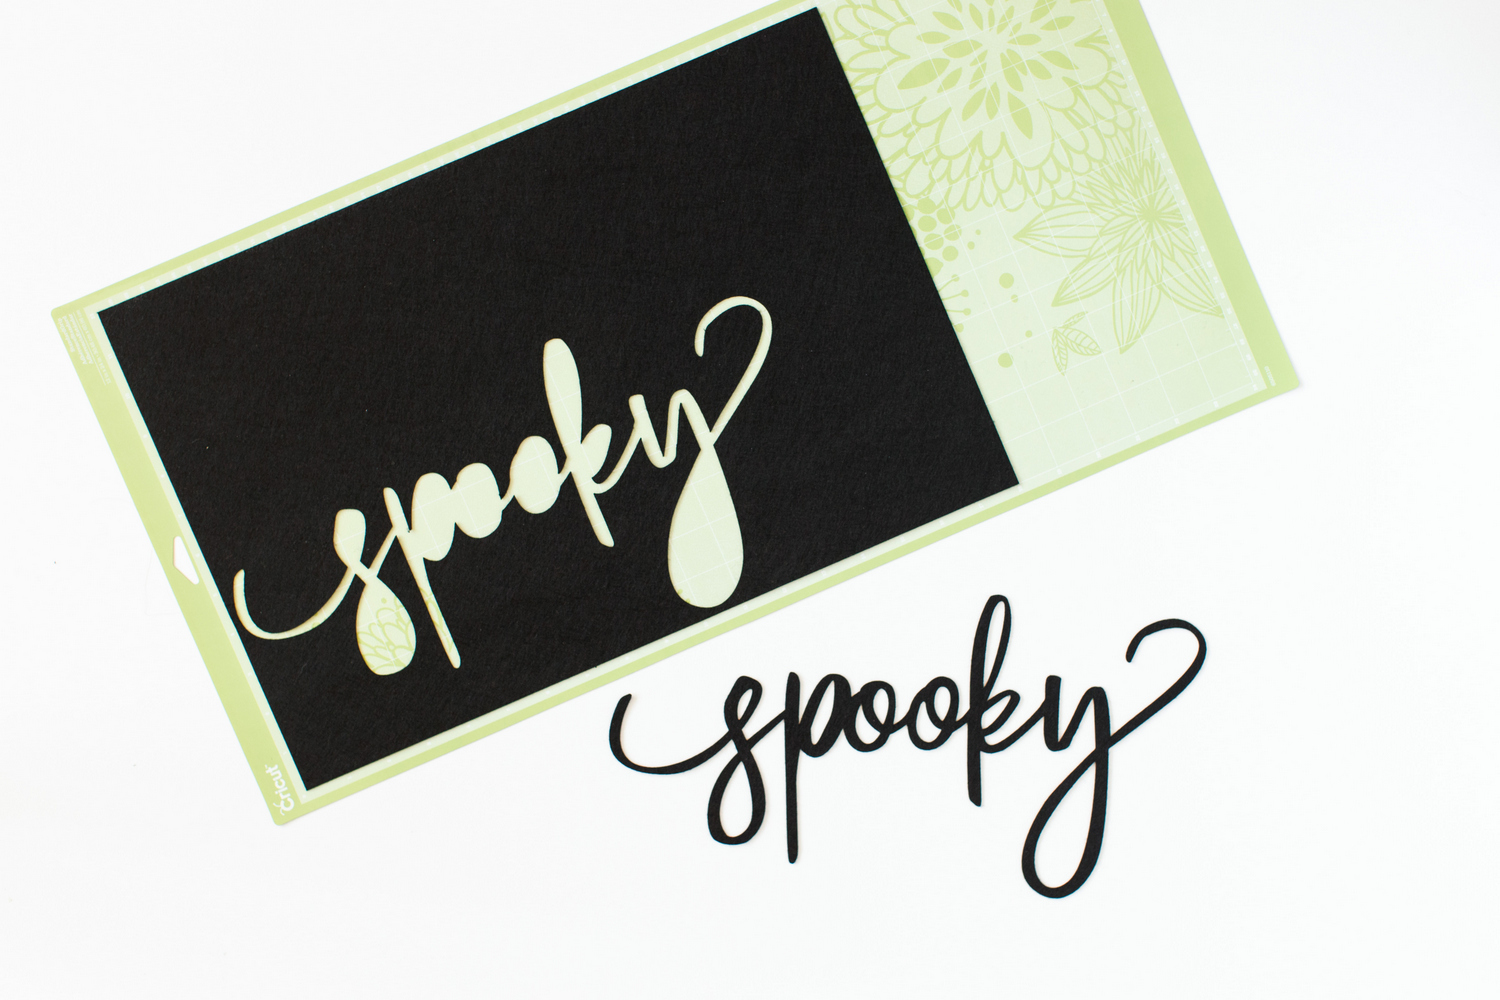 Prep: Open the spooky pillow project in Cricut Design Space.
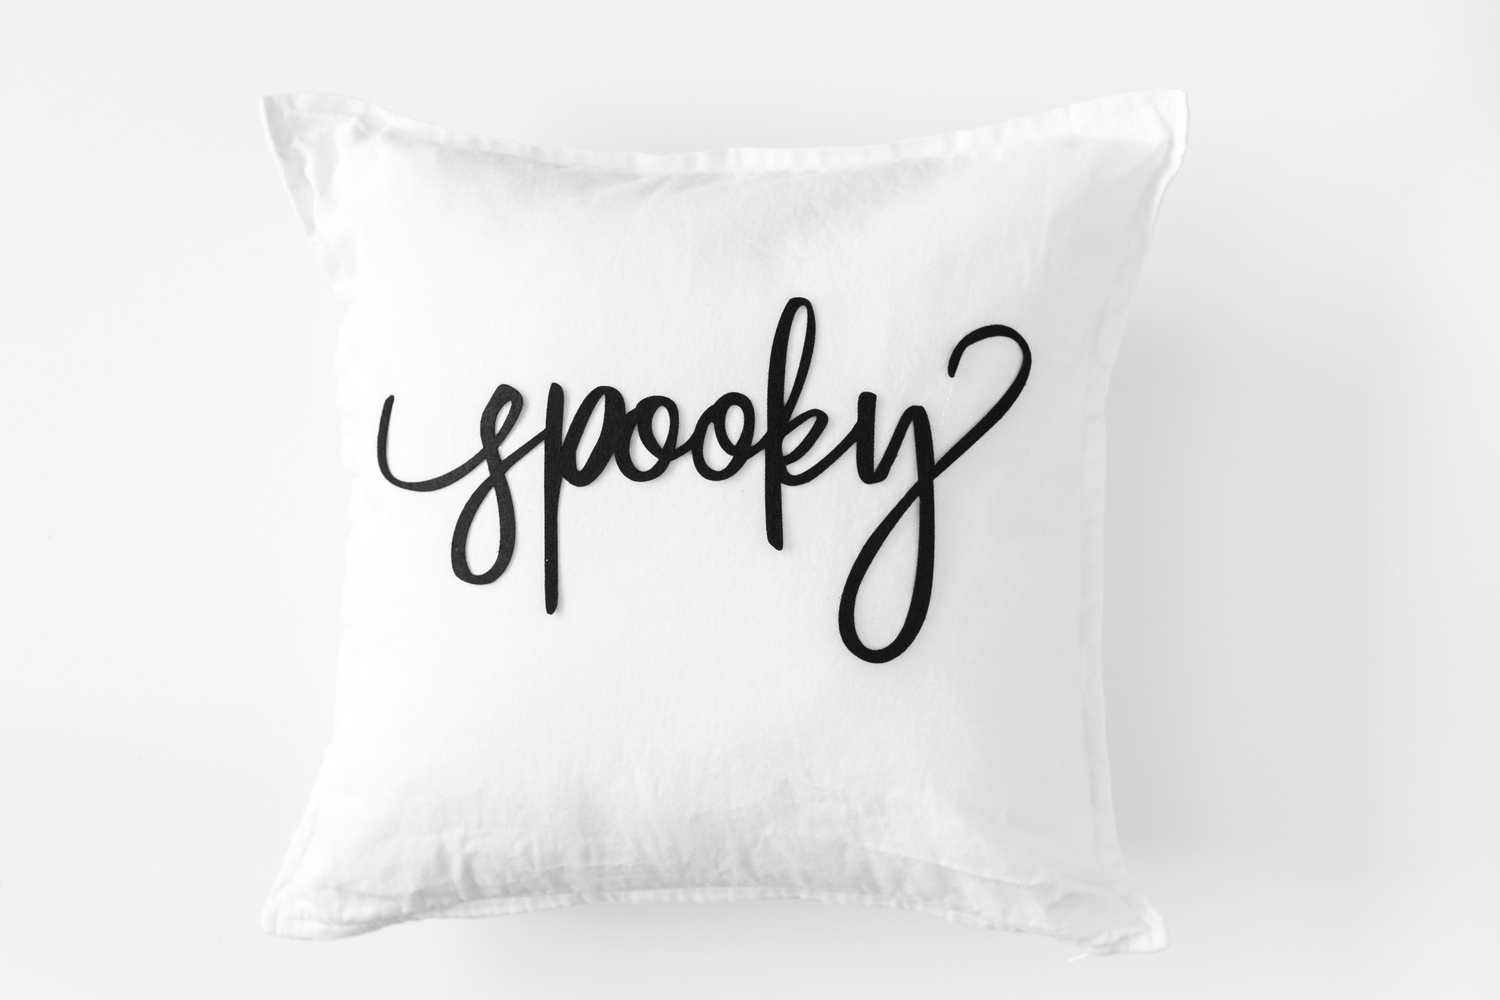 Cut: Back the felt sheet with Heat and Bond then place felt sheet on mat and cut. Cut repeatedly until fully cut through both layers (do not remove from machine until complete).
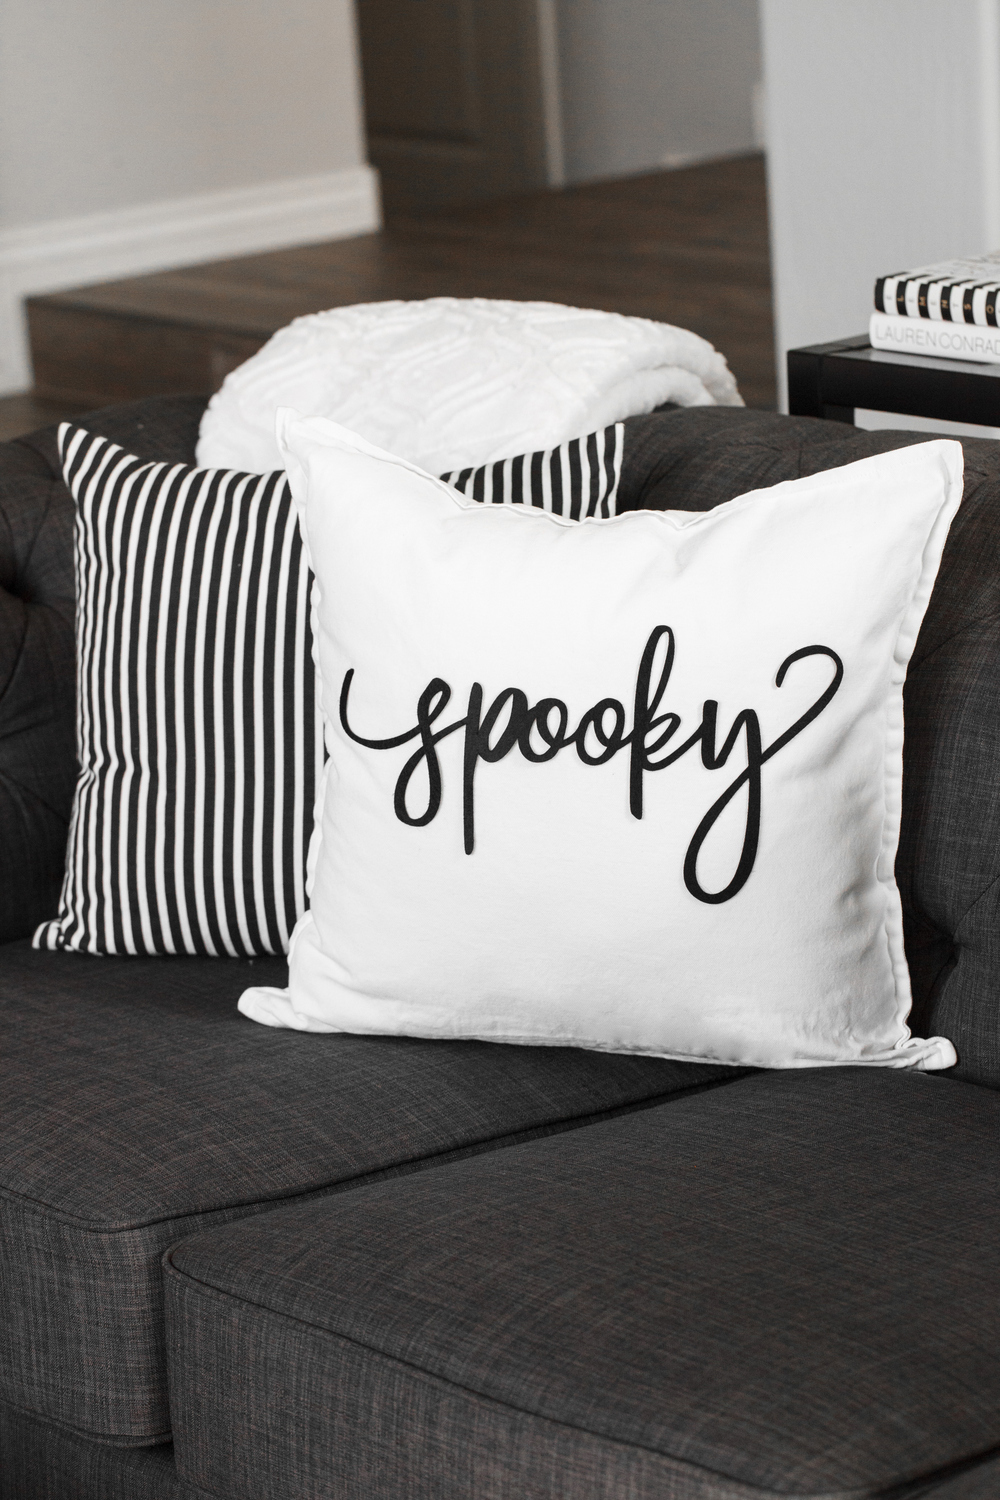 Assemble: Use your iron to heat the cut out felt word and bond it to the pillow.
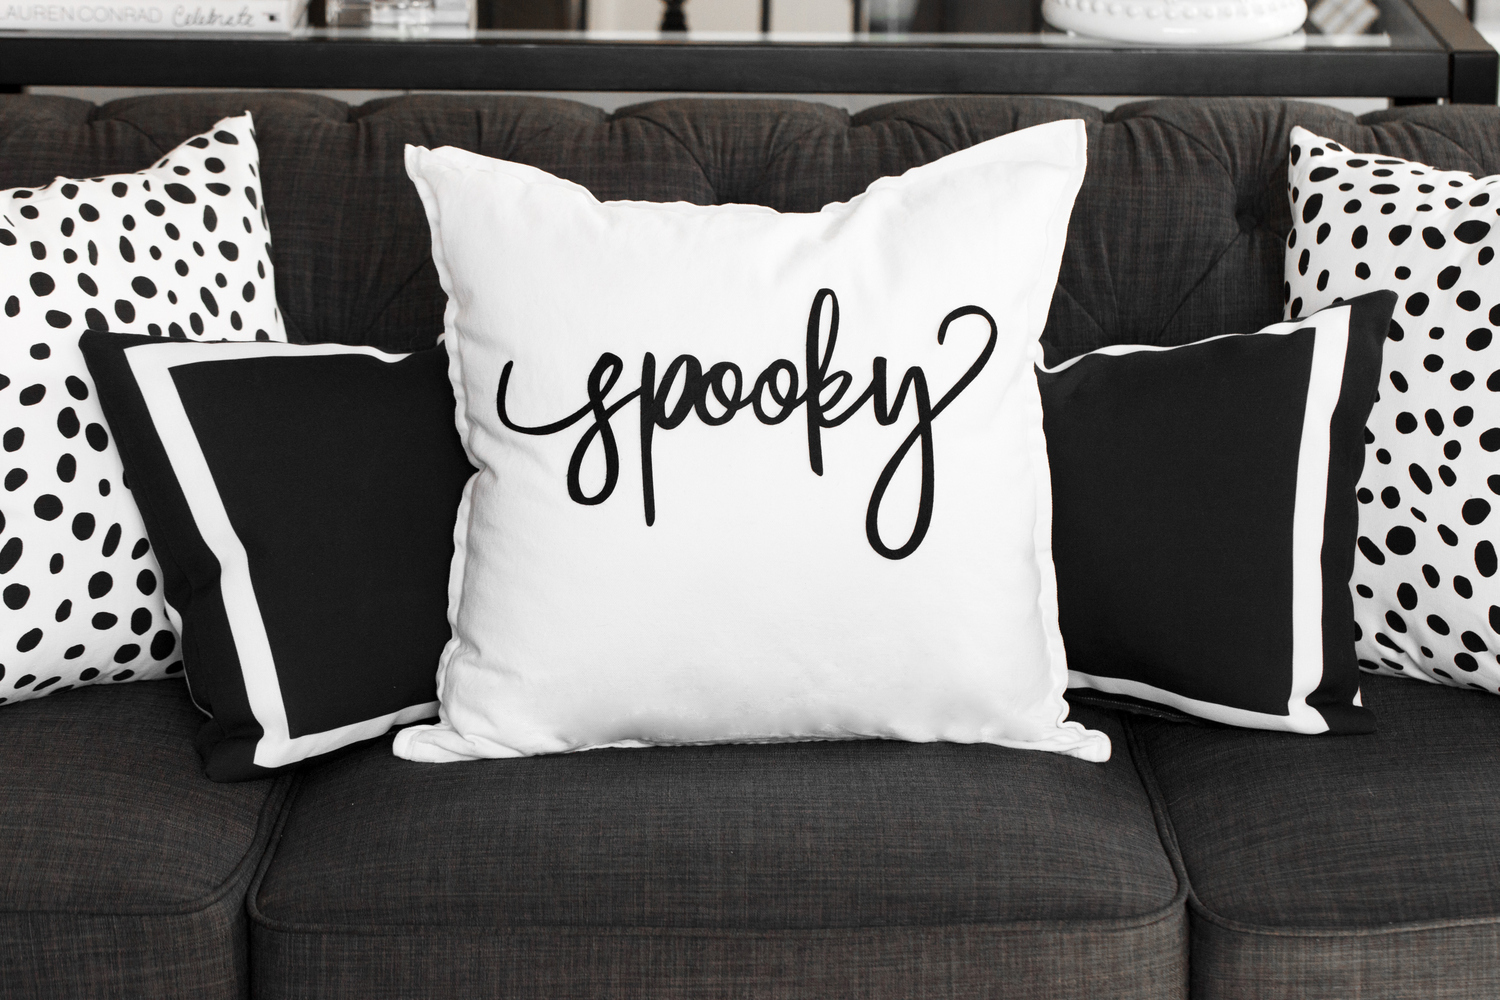 So easy, and so cute, right?
Design/Styling | The TomKat Studio
Photography | Rennai Hoefer, Ten22 Studio

THIS IS A SPONSORED POST. THE TOMKAT STUDIO HAS RECEIVED PAYMENT, TRADE AND/OR PRODUCTS FROM CRICUT IN EXCHANGE FOR PROMOTING, HOWEVER ALL OPINIONS STATED ARE MY OWN AND I ONLY PROMOTE PRODUCTS I LOVE. POST MAY CONTAIN AFFILIATE LINKS.




One response to “HOW TO MAKE A SPOOKY HALLOWEEN PILLOW…”
-
Is your vinyl peeling up or are all of these photos just “simulations”? There’s a weird dropshadow on the word happening in all of them and it’s making them look either faked or poorly attached.





Leave a Reply