welcome to
The tomkat studio blog
Search
4 DARLING DIY NEW YEAR’S EVE PROJECTS!
Share To:
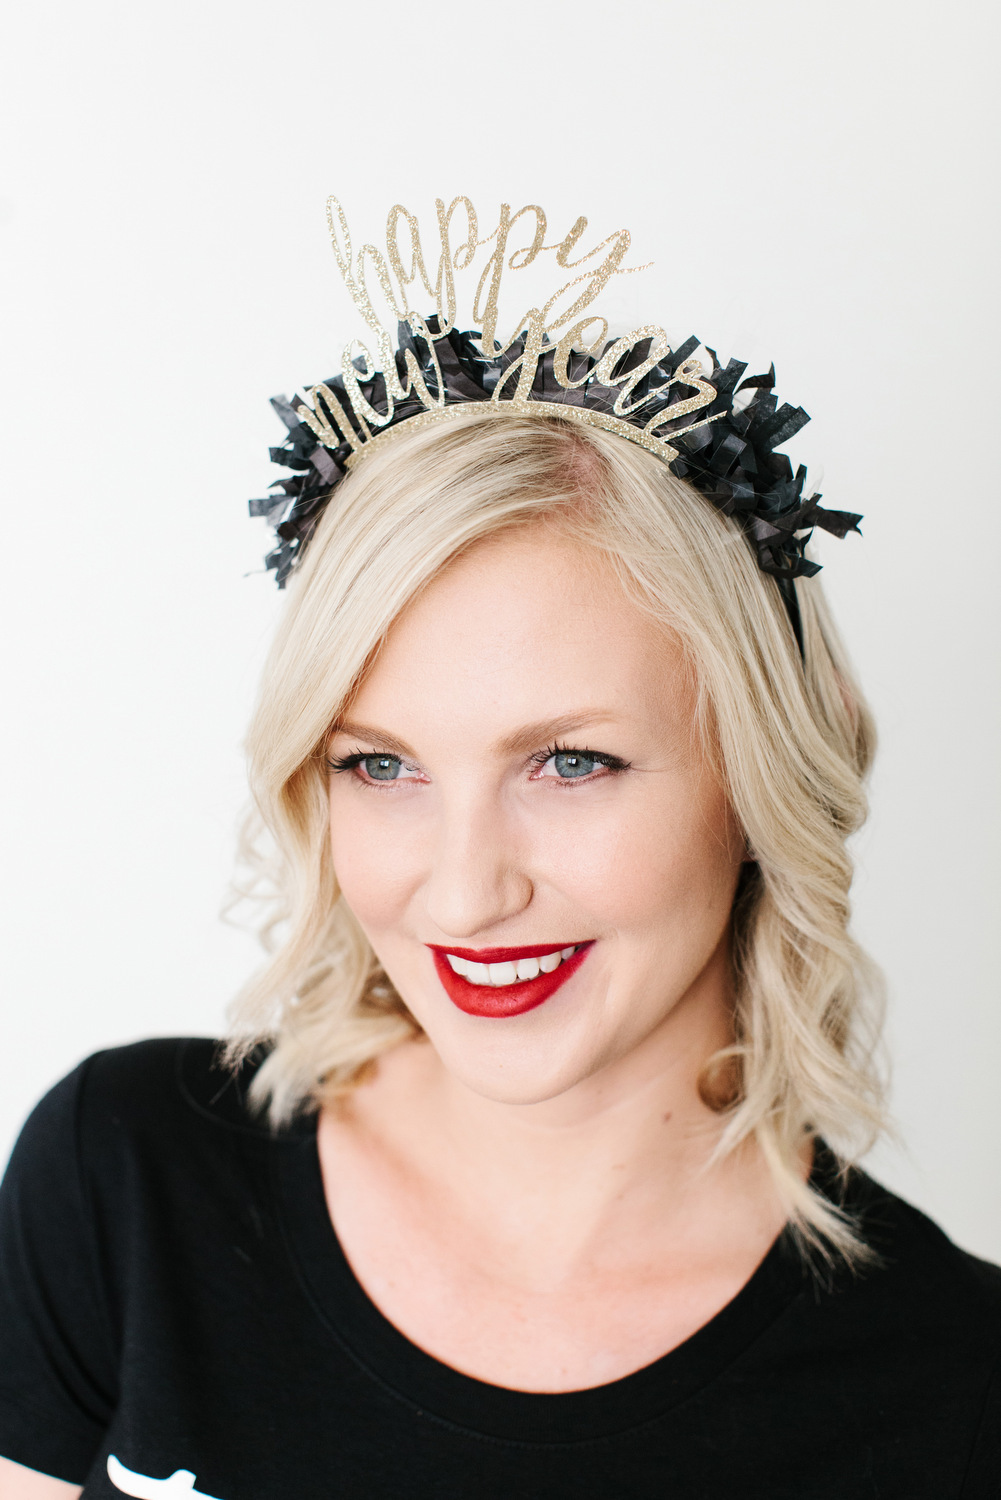
We’re nearing the end of 2016, which means it’s time to start planning a New Year’s Eve Party to celebrate 2017! It’s the perfect time to be surrounded with family + friends, share your best memories of the year, and set some New Year’s resolutions! We know you want to ring in the new year with the best party possible, so we’ve partnered with Cricut Explore to bring you some adorable DIY projects that’ll make your event one to remember!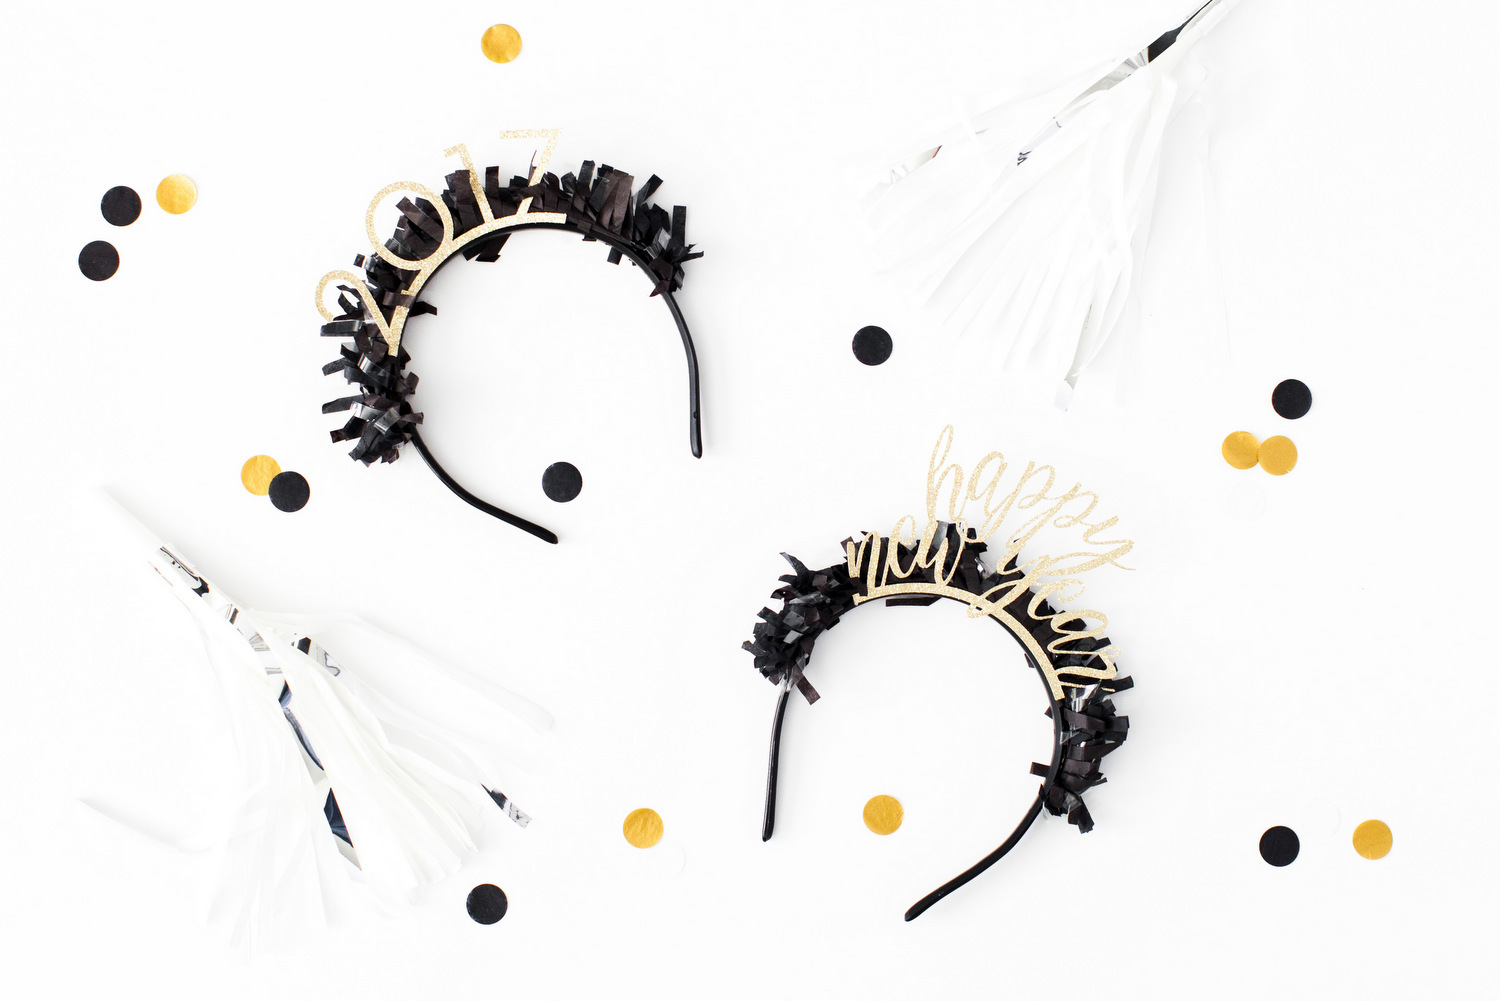 For our first project, we decided to put our own modern twist on the classic party headband and created these glittery, darling New Year’s Eve headbands! All it takes are a few simple supplies and you’ll have an adorable accessory in minutes!
 Materials
Cricut Explore Machine™
Cricut Design Space Software™
12″ x 12″ Standard Grip Cricut® Mat
Medium Weight Gold Glitter Cardstock
Black Basic Headband
Fringe Garland
Glue Gun/Hot Glue
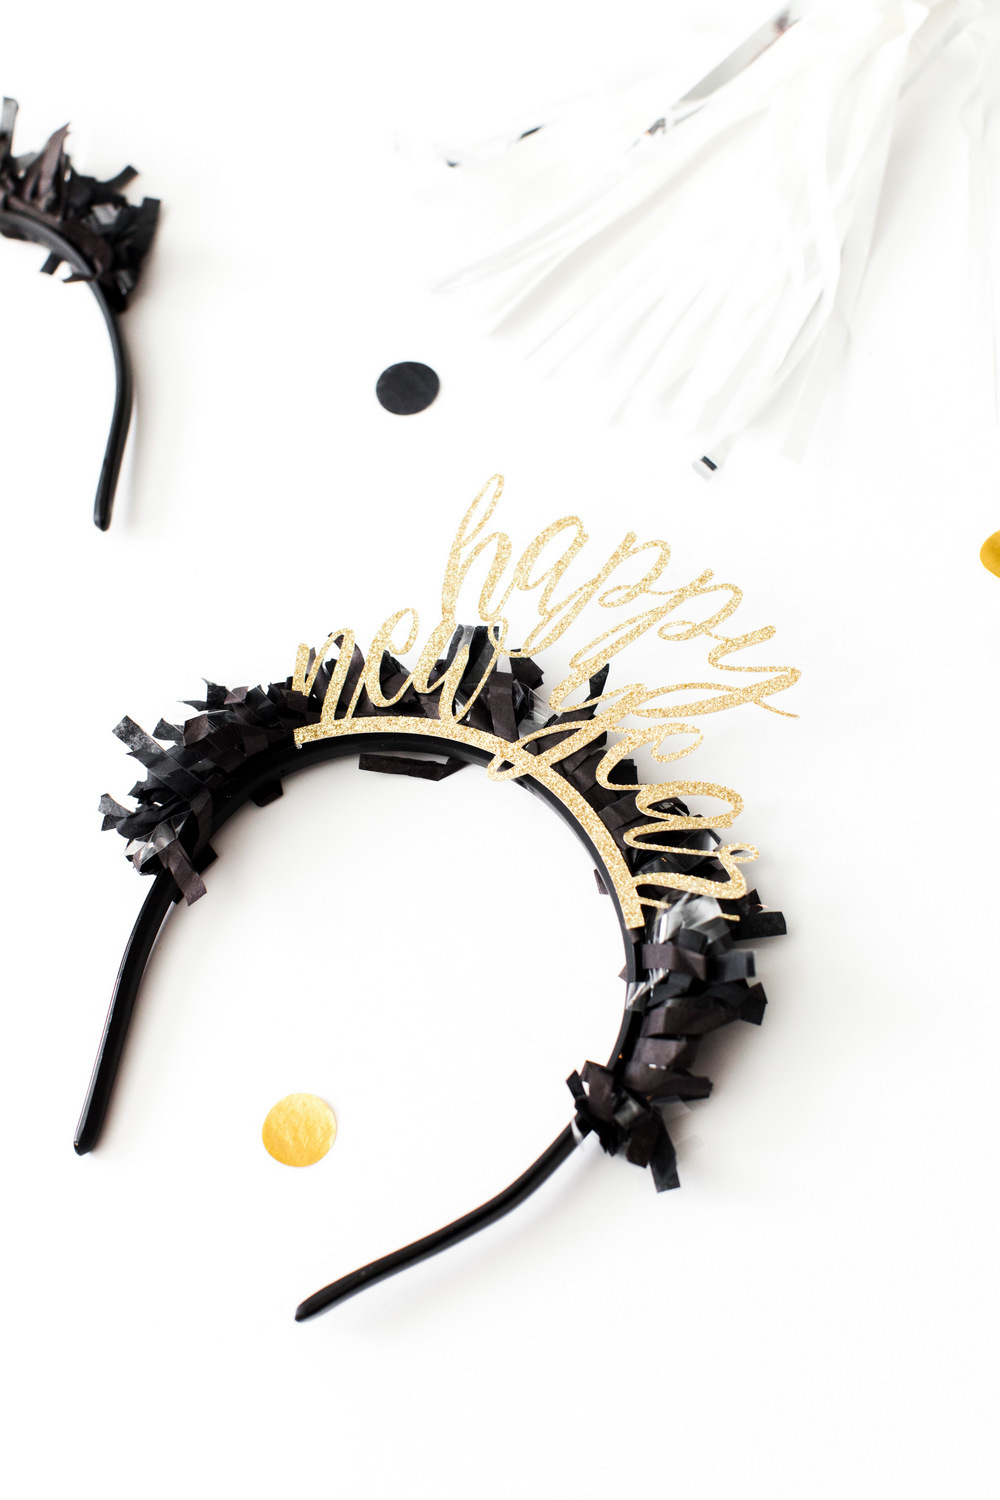
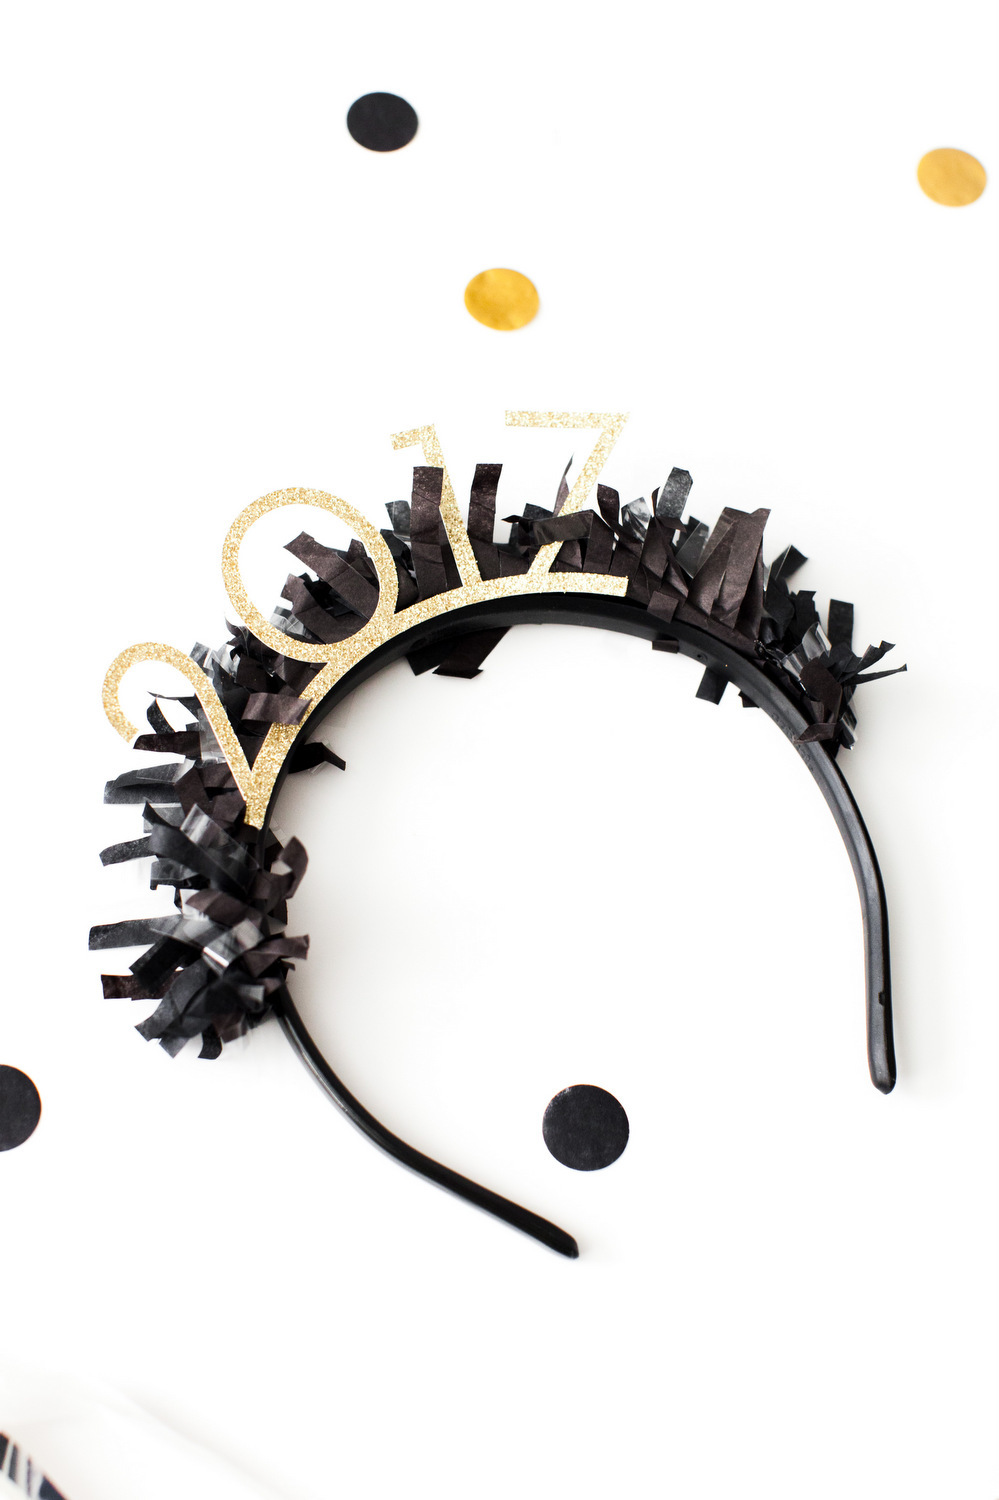
Prep: Open project in Cricut Design Space.
Cut: Follow instructions in Design Space to cut designs out of gold glitter cardstock.
Assemble: Use hot glue to first attach the fringe garland to the headband, and then to attach the cutout gold designs.

 We all know champagne is a favorite for ringing in the New Year! We came up with a cute way to decorate your champagne glasses to celebrate the beginning of 2017! Simply cut vinyl numbers and attach! Super easy to make and the vinyl will peel right off when you are done celebrating!
 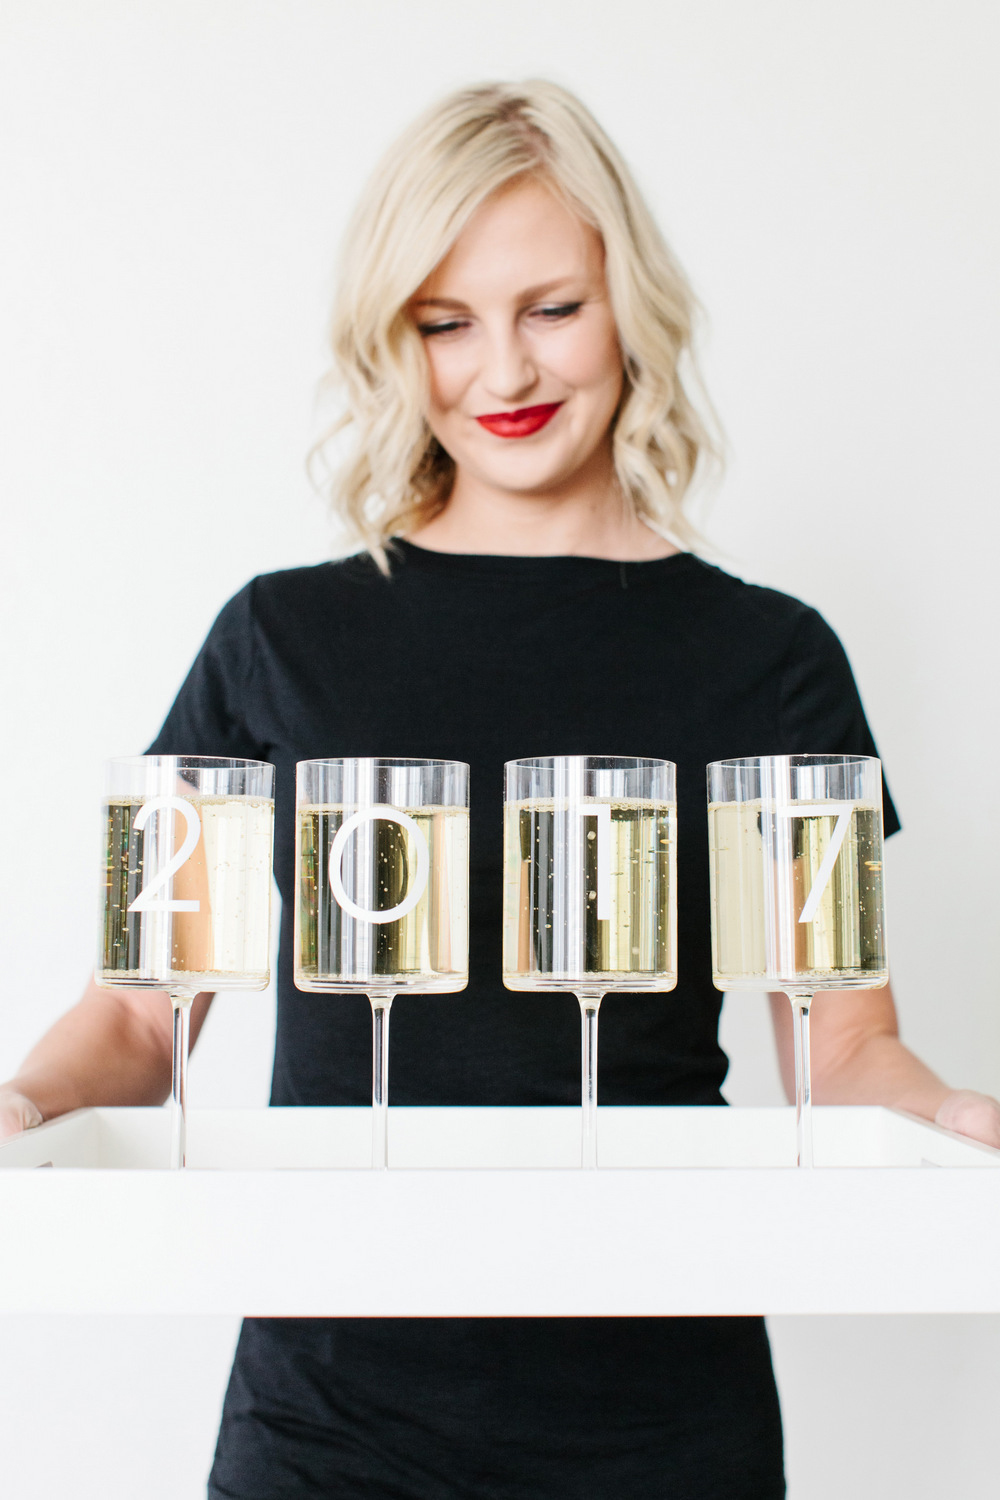 Materials
Cricut Explore Machine™
Cricut Design Space Software™
12″ x 12″ Standard Grip Cricut® Mat
Cricut Vinyl White
Wine or Champagne Glasses
Prep: Open project in Cricut Design Space.
Cut: Follow instructions in Design Space to cut vinyl.
Assemble: Peel off vinyl numbers and center on glasses.

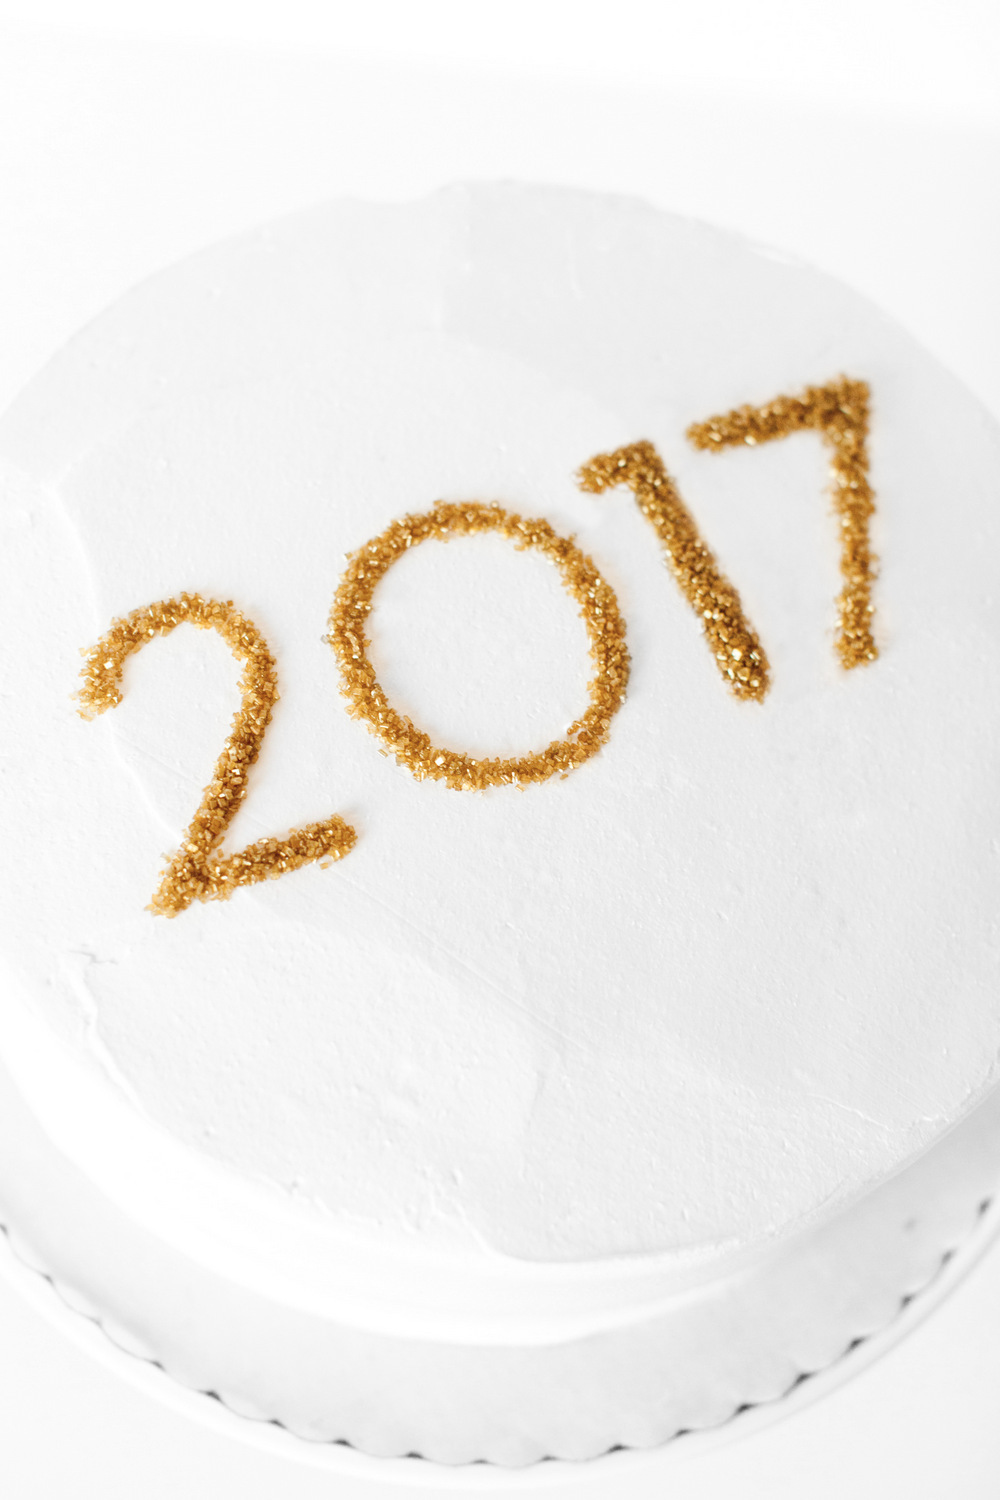 What’s a party without dessert? Use the cake stencil we created to dress up a simple white frosted cake with “2017” in gold sprinkles!
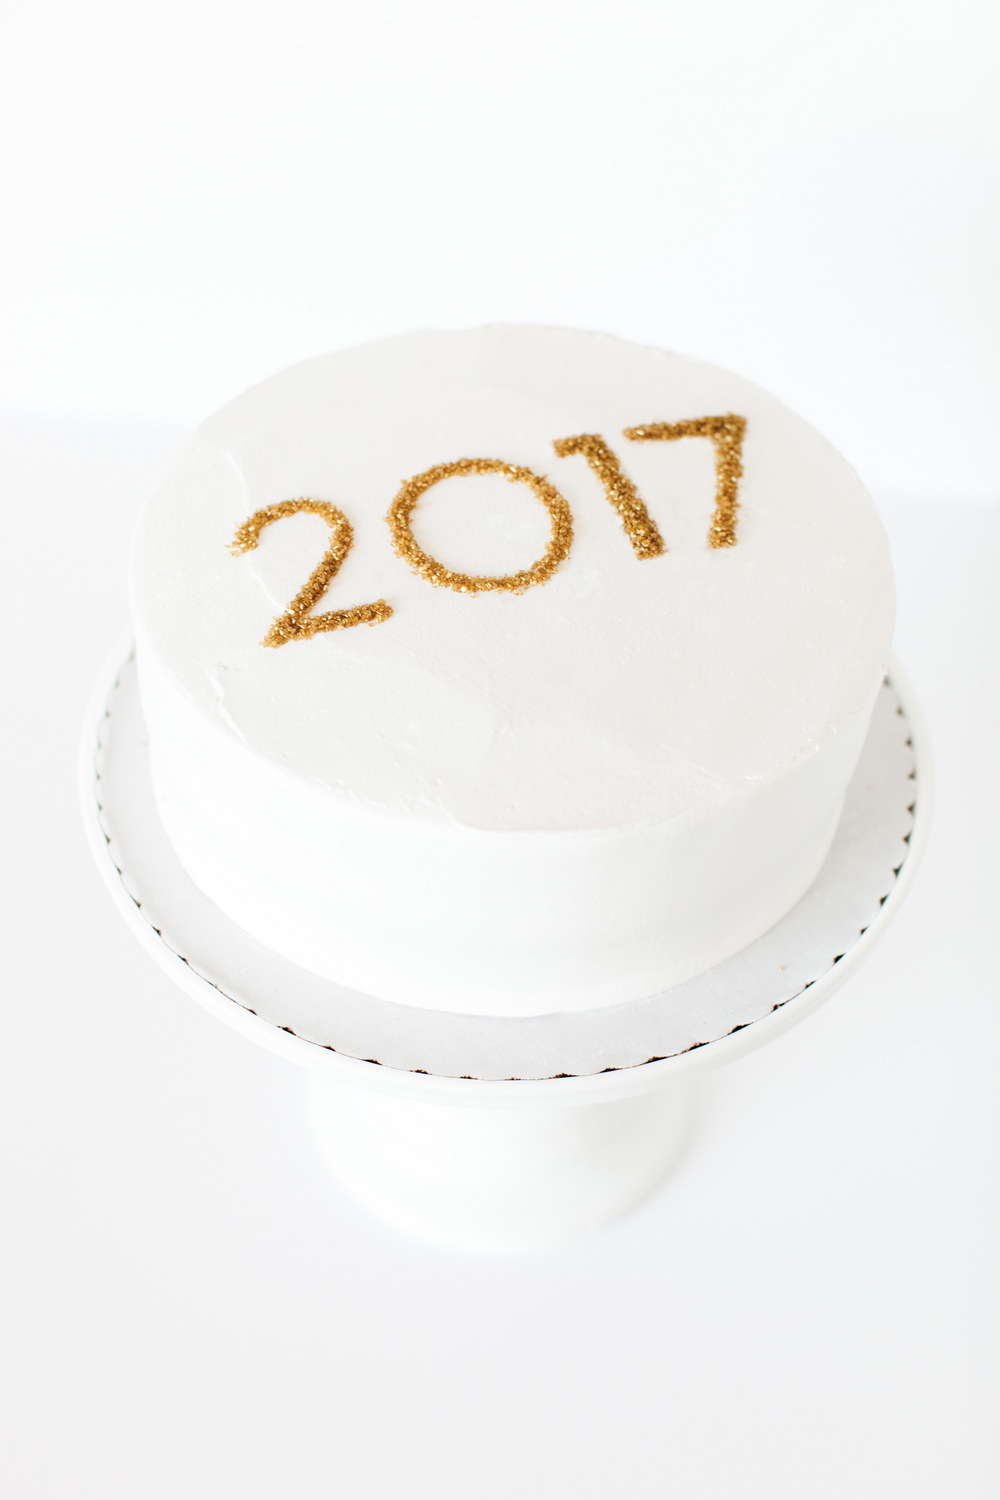 Materials
Cricut Explore Machine™
Cricut Design Space Software™
12″ x 12″ Standard Grip Cricut® Mat
Cardstock
White Frosted Cake
Gold Sprinkles
Prep: Open project in Cricut Design Space.
Cut: Follow instructions in Design Space to cut the stencil design out of cardstock.
Assemble: Carefully place stencil on top of cake (or hold as close as possible) and make sure design is centered on cake. Gently and slowly pour sprinkles on stencil. Carefully remove stencil.

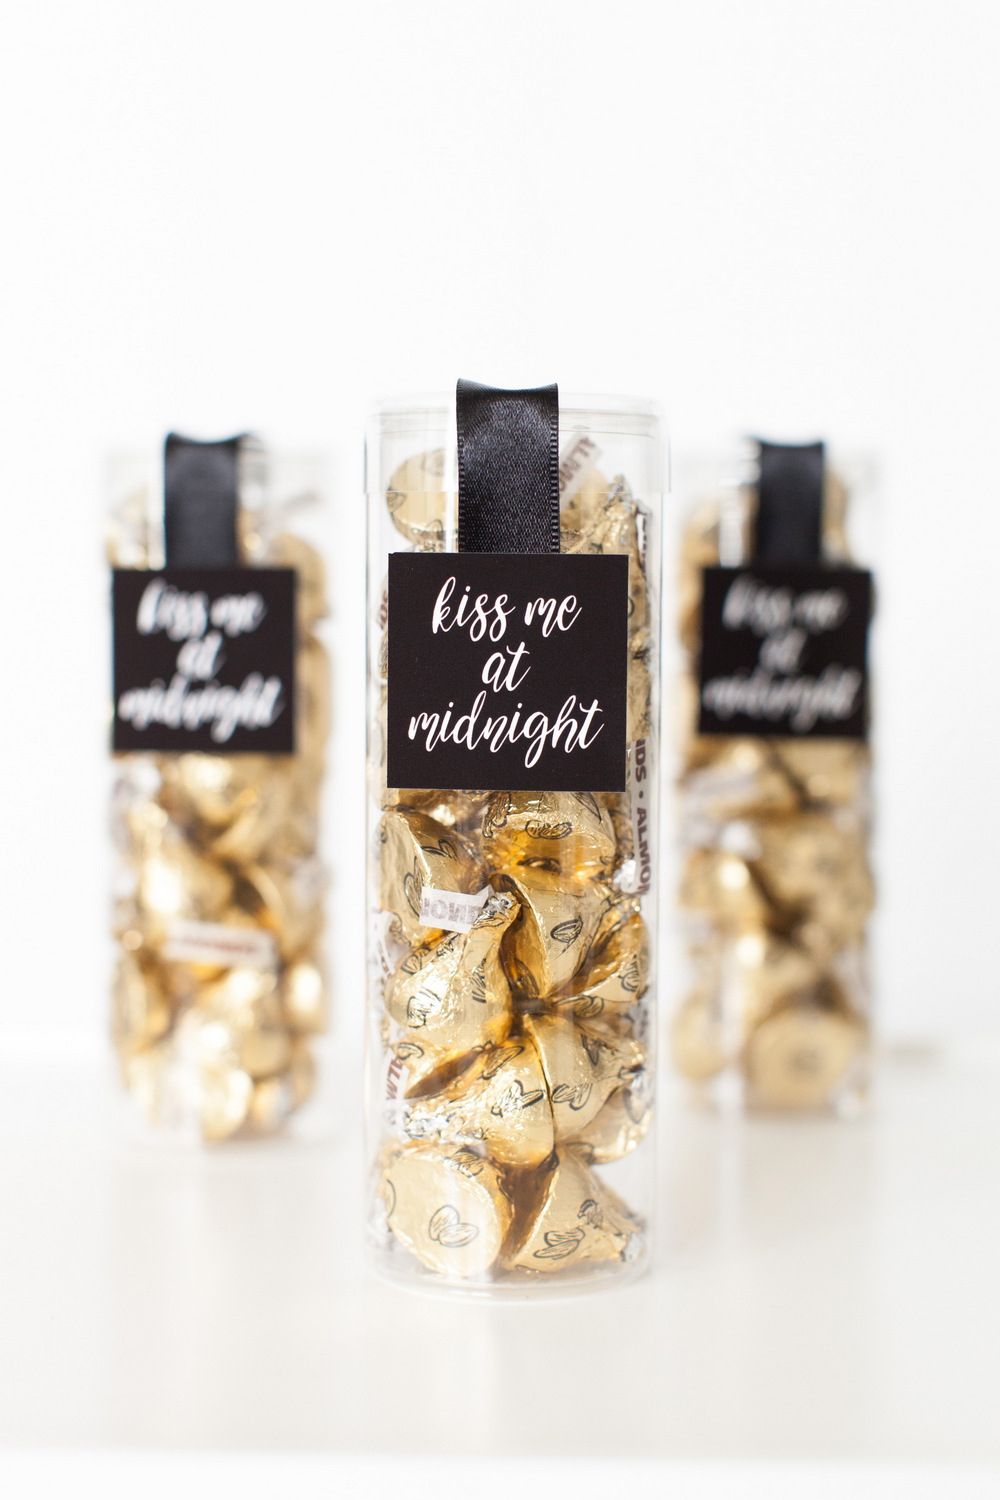 Don’t forget to send your guests home with party favors! They’ll love these little treats for later!
Materials
Cricut Explore Machine™
Cricut Design Space Software™
12″ x 12″ Standard Grip Cricut® Mat
White Cardstock
Clear Candy Tubes
Candy
Ribbon
Glue Gun/Hot Glue
Prep: Open project in Cricut Design Space. Print then
Cut: Follow instructions in Design Space to print then cut tags.
Assemble: Fill clear tubes with candy. Use small dots of hot glue to attach ribbon and tag.
 Hope you enjoy making these fun projects for your New Year’s Eve Party!
Design/Styling | Kim Stoegbauer, The TomKat Studio
Photography | Rennai Hoefer, Ten22 Studio

THIS IS A SPONSORED POST. THE TOMKAT STUDIO HAS RECEIVED PAYMENT, TRADE AND/OR PRODUCTS FROM CRICUT IN EXCHANGE FOR PROMOTING, HOWEVER ALL OPINIONS STATED ARE MY OWN AND I ONLY PROMOTE PRODUCTS I LOVE. POST MAY CONTAIN AFFILIATE LINKS.
December 15, 2016
Post Date:
SUBSCRIBE
Don't miss a thing! Subscribe to our email list to keep up with our latest projects, listings, blog posts and giveaways!

